
Introduction
In this article, we are going to install Microsoft SQL Server on windows machines step by step. In this tutorial, we are going to use SQL Server 2019 Developer edition and Windows Server 2019.
Pre-requisites
- Windows machine having 2 core and 4 GB RAM configuration
Download SQL Server 2019 Developer Edition
First, let’s download SQL Server installation media from the official website.
Step 1. Download installation media from this link.
Step 2. Run the downloaded file and you will see the below screen. Now select the third option – Download Media.

Step 3. Now you will see the below screen. Please select the language you prefer and select the ISO radio button to download the ISO file. In addition, select the download location of your choice. I will go with the default location. Now press the Download button.

Step 4. Now it will start downloading SQL Server installation media. It will take some time based on your internet connection speed.


Install SQL Server 2019 Developer Edition
Now that we have installation media, we can start the installation of the SQL Server. Let’s see how to install SQL Server step by step.
Step 1.Run install media file (ISO file) downloaded in above section by double-clicking on it. It will extract/mount all the contents in a new temporary drive.

Step 2. Once extraction is completed, double click on the setup.exe file and you will see the below screen. Click on the Installation option in the left panel and then click on New SQL Server stand-alone installation or add features to an existing installation option from the right panel.

Step 3. Now you will see the Product Key window. Select the Developer option from the dropdown and click on the Next button.

Step 4. Now you will see the License Terms window. Just select the checkbox and click on the Next button.

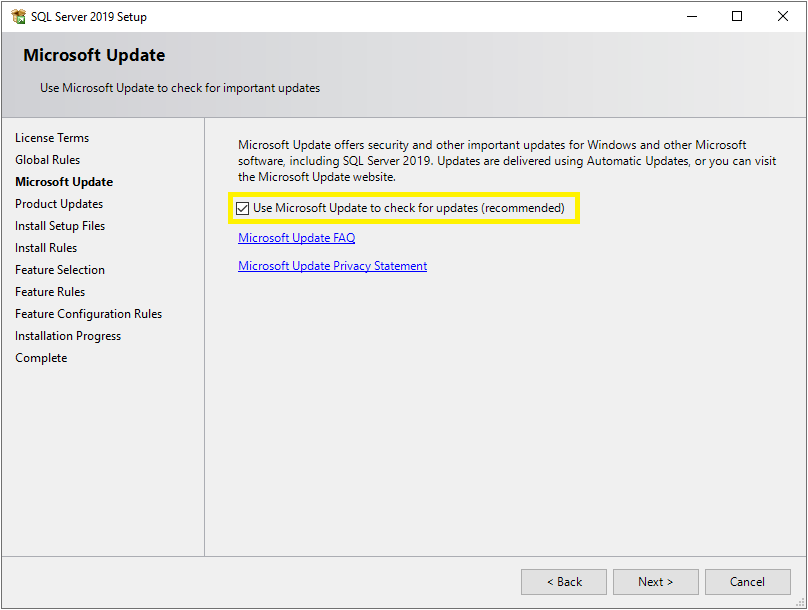
Step 5. Now you will see the Microsoft Update window. It is not compulsory to check for the latest updates but it is recommended. So, select the checkbox and click the Next button.
Step 6. Now it will check for updates and install them if any.

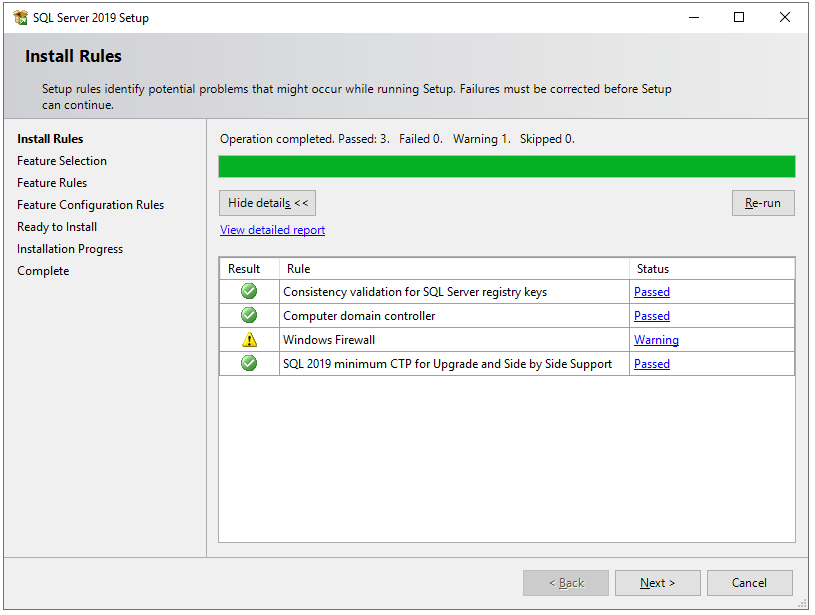
Step 7. After that, it will check some rules or prerequisites for the installation of SQL Server. Once all the rules passed, click on the Next button. Sometimes you may face an error at this stage. You can find some known errors at the end of this article.
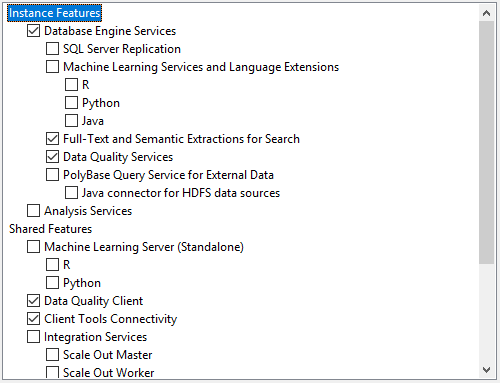
Step 8. On the Feature Selection window, select features as shown in the below screenshot. You can also change the location for SQL Server instance installation but I will go with the default location. After feature selection please click the Next button.

Step 9. It will check some feature rules/prerequisites and then you will see the Instance Configuration screen. Here you can choose between Default Instance and Named Instance. Here I will go with Named Instance.
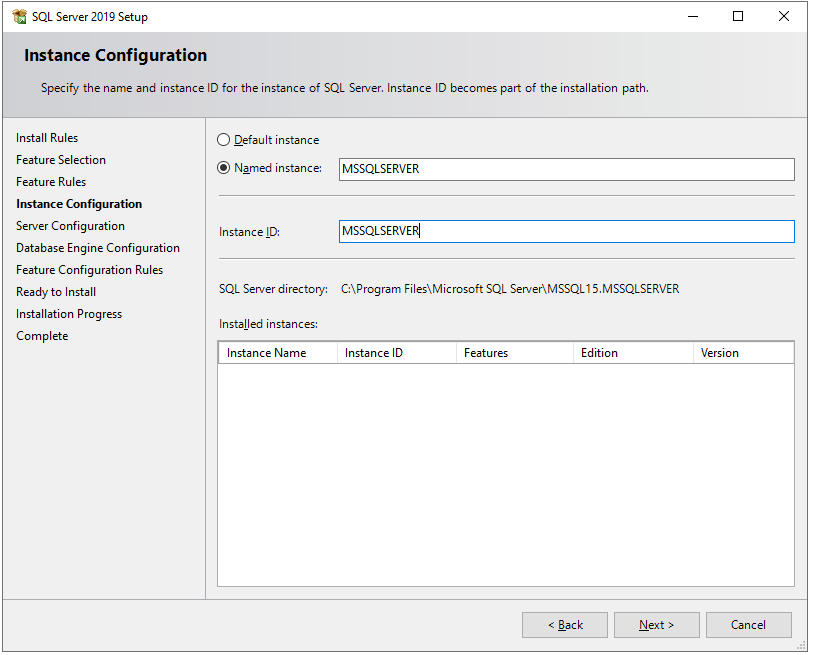
Default Instance
When SQL Server is installed in the default instance, it does not require a client to specify the name of the instance to make a connection. The client only has to know the server name. For example, HARDIK-PC.
Named Instance
A named instance is identified by the network name of the computer plus the instance you specify during the installation. The client must specify both the server name and the instance name when connecting. For example, HARDIK-PC/MSSQLSERVER.
Step 10. Next, you will see the Server Configuration window. In Service Accounts tab, select Automatic in Startup Type for SQL Server Agent, SQL Server Database Engine, and SQL Server Browser services.
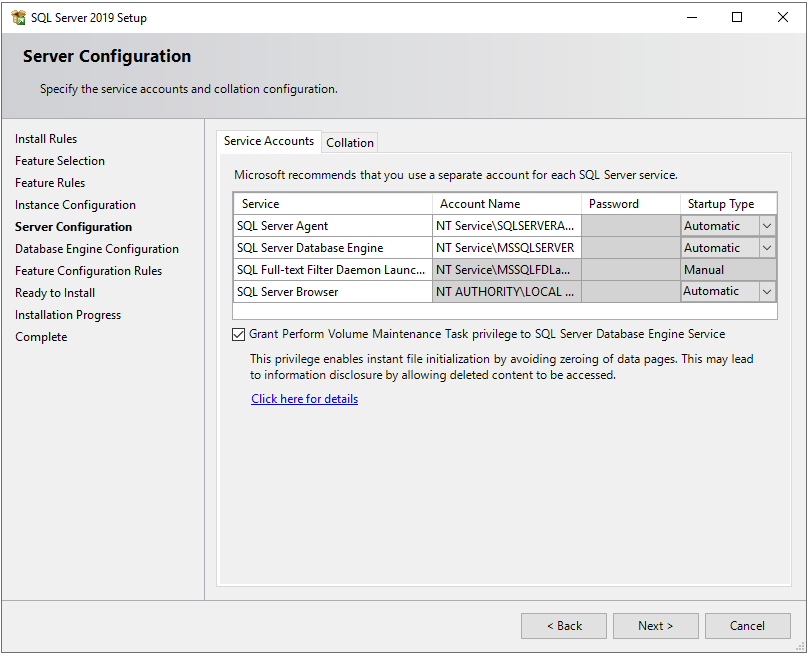
In the Collation tab, select collation as per your preference.
“Collations in SQL Server provide sorting rules, case, and accent sensitivity properties for your data. Collations that are used with character data types, such as char and varchar, dictate the code page and corresponding characters that can be represented for that data type.” – Microsoft.

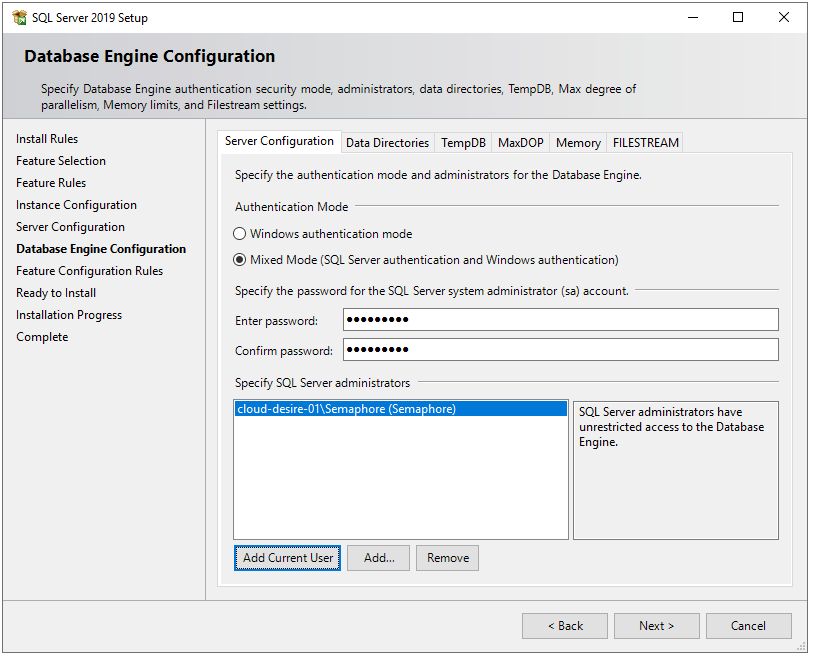
Step 11. Next, you will see the Database Engine Configuration window. In the Server Configuration tab, choose Mixed Mode in the authentication mode section and enter a strong password. In Specify SQL Server administrators section, your current windows user should already be added automatically. If not, click on Add Current User button.
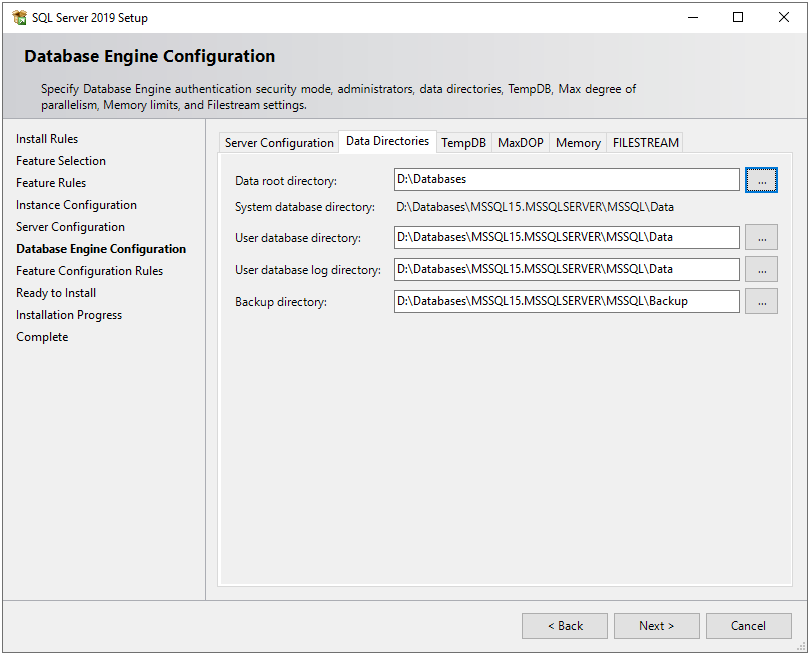
In the Data Directories tab, specify locations for database files and backup files. By default, it saves all the files on a C drive but it is not recommended to store database files on an OS drive because if any OS-related issue occurs then we may lose our data. Therefore, I choose D drive on my local machine.
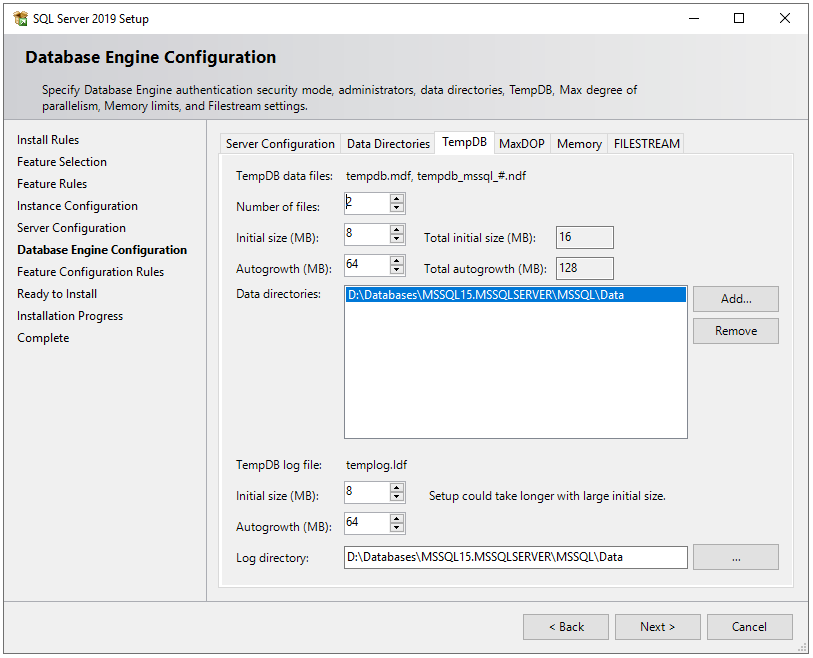
In the TempDB tab, there are configurations for the temporary database file(s). There are some best practices on how to configure temporary database files locations, the number of files, and their file sizes. Ideally, the number of the TempDB data files should match the number of logical processors. So I have a number of files to 2. If you are interested in deep pe into TempDB best practices, here is a very good article on it.
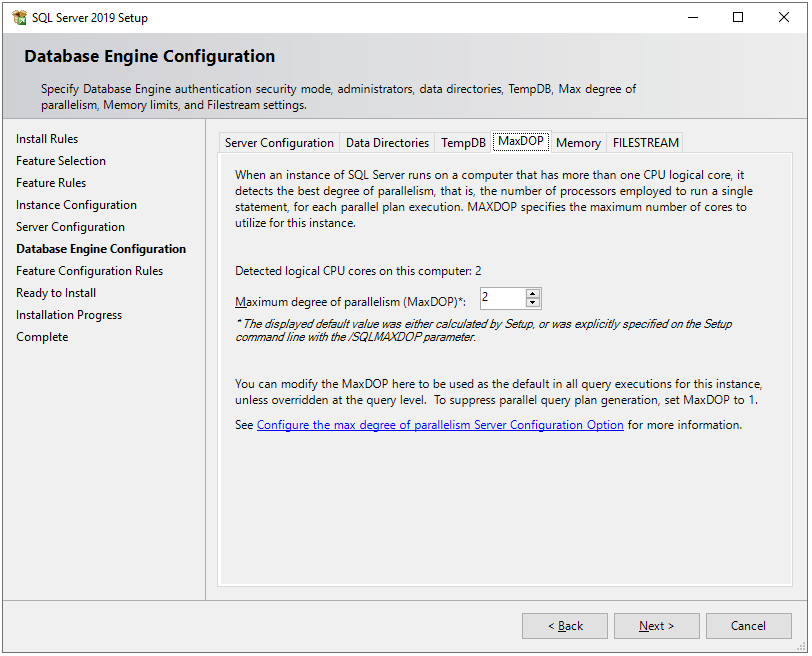
Next, in the MaxDOP tab, the maximum degree of parallelism (MAXDOP) is a server configuration option for running SQL Server on multiple CPUs. It controls the number of processors used to run a single statement in parallel plan execution. By default, the setup will suggest value based on the system configuration. For more information and best practices see here.
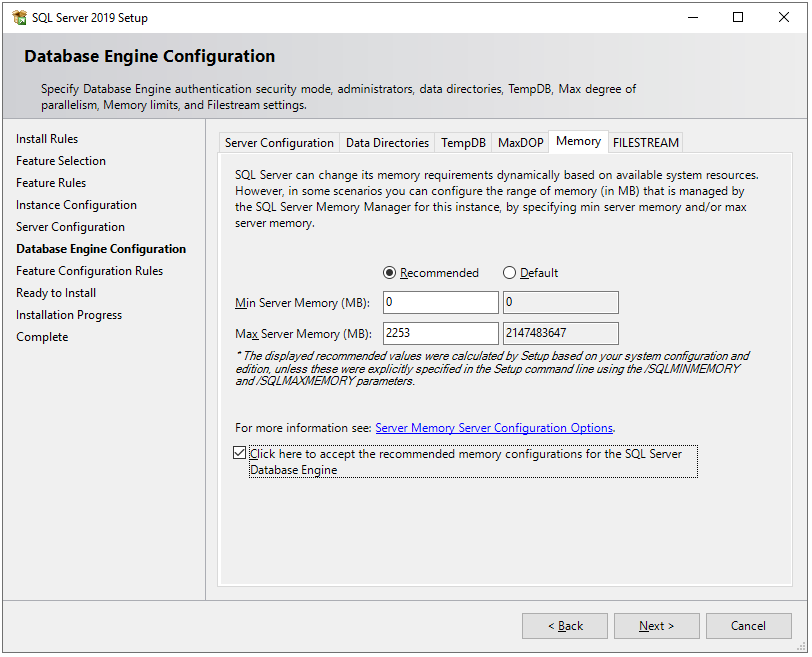
Next, in the Memory tab, we can configure how much memory SQL Server instance can consume. By default, the installation process will recommend you min and max memory allocation based on the system configuration on which it is going install. However, you can change it. Here you can find best practices for SQL Server memory configurations.
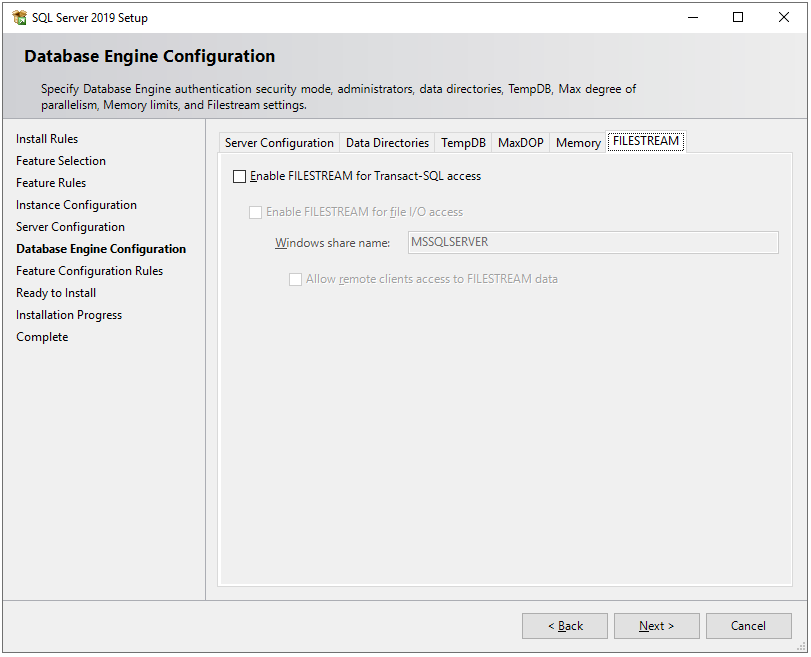
In the FILESTREAM tab, leave the checkbox unchecked because we are not going to enable this feature. FILESTREAM, in SQL Server, allows storing these large documents, images, or files onto the file system itself. For more information, see here.
Click on the Next button.
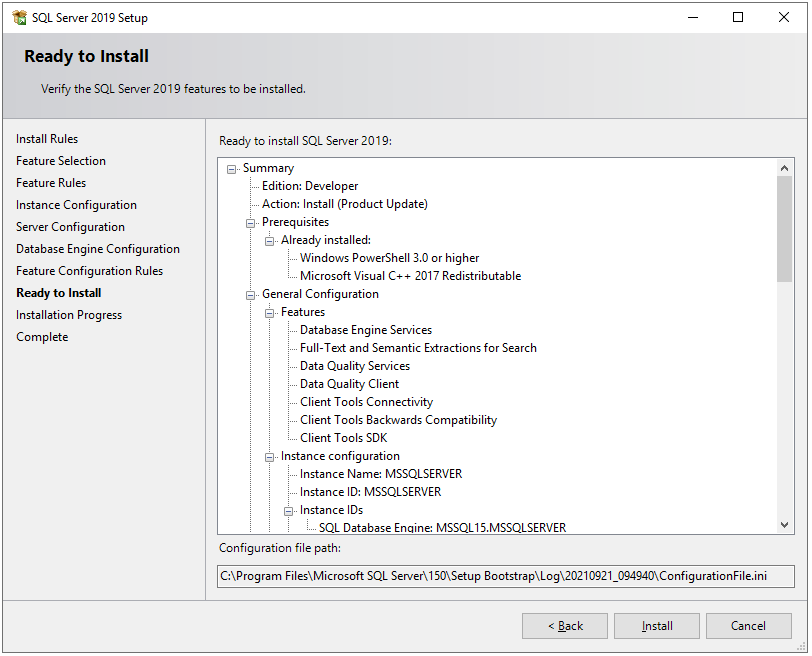
Step 12. Next, the setup will check some feature configuration rules, and then the Ready to Install window will appear. This window shows the summary of all the features and configurations which we have done in the above steps. Once review the summary and click on the Install button.
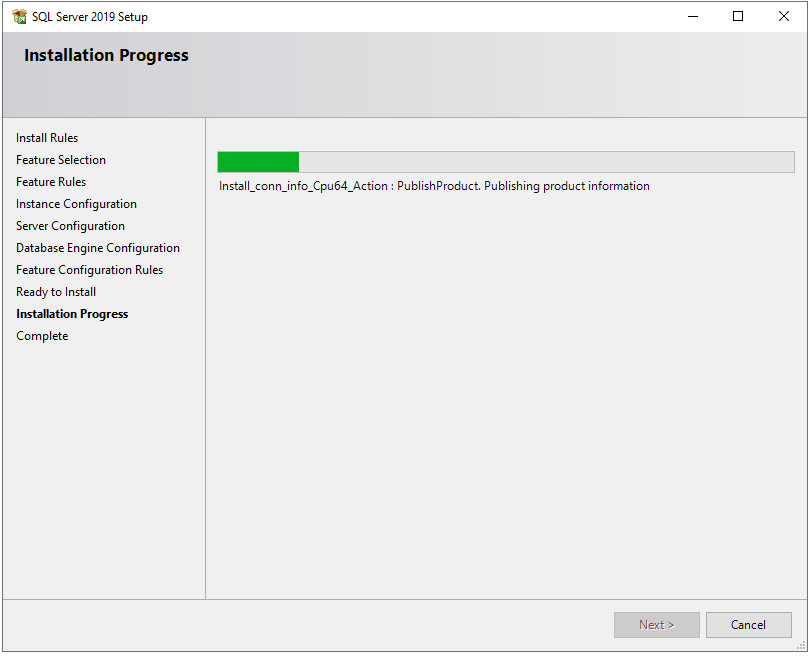
Step 13. Now, the installation will start and it may take some time based on our configurations.
Step 14. After installation, it will show you the list of features and their installation status. If any error occurred, it will show here.
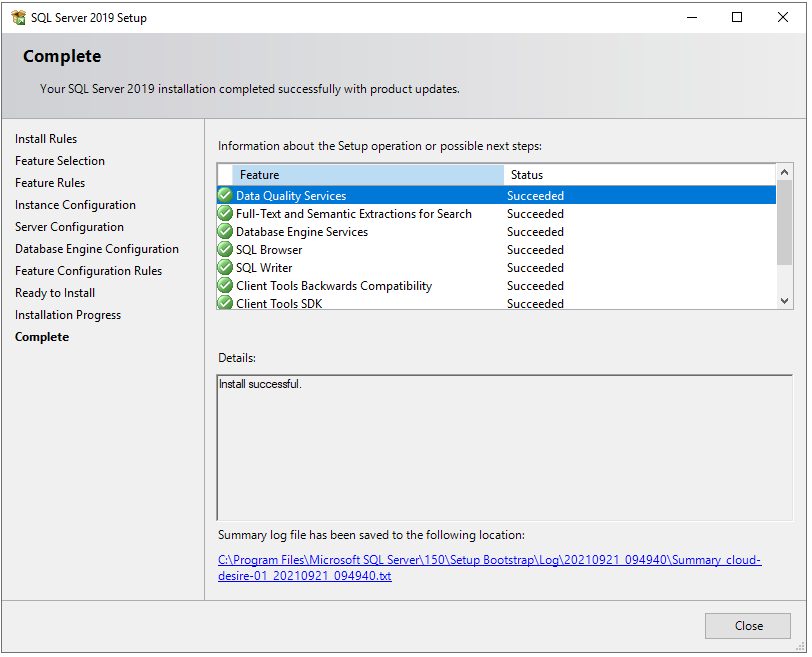
Congratulations! We have successfully installed SQL Server 2019 Developer edition on Windows machine. Next, you can install SQL Server Management Studio to connect SQL Server and query SQL databases. Please follow below steps to install SQL Server Management Studio.
Install SQL Server Management Studio
First, let us download SQL Server installation media from the official website.
Step 1. Download installation media from these link.
Step 2. Below file will download.

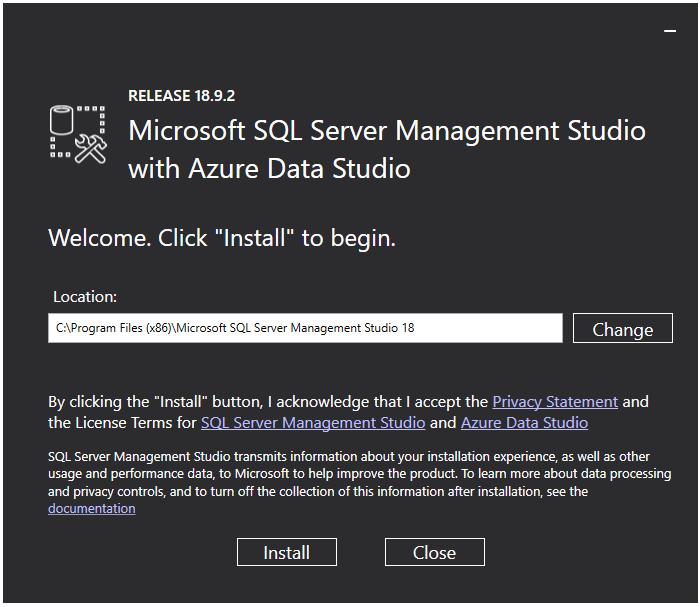
Step 3. Run the downloaded file and you will see below screen. Just click on the Install button.
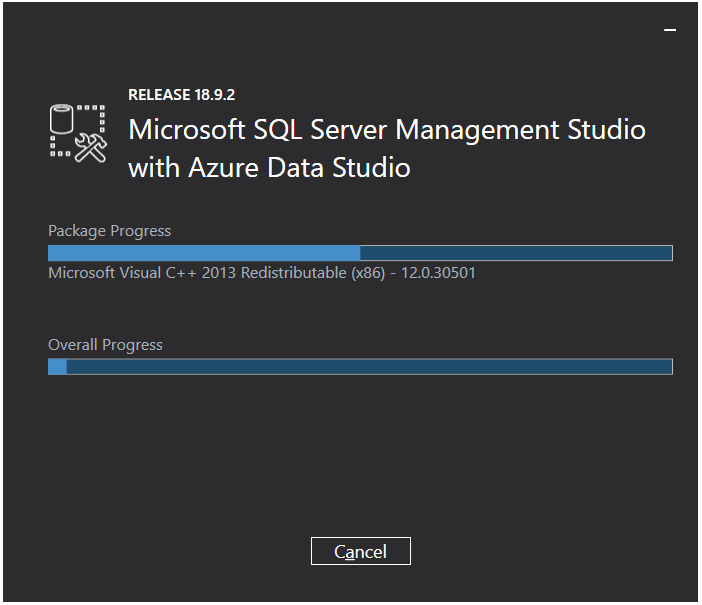
Step 4. It will start installing management studio. It will take some time.
Step 5. Once installation finished, close the installation wizard and open start menu and search for SQL Server Management Studio. You will see below application. Now, click on it to open the application.

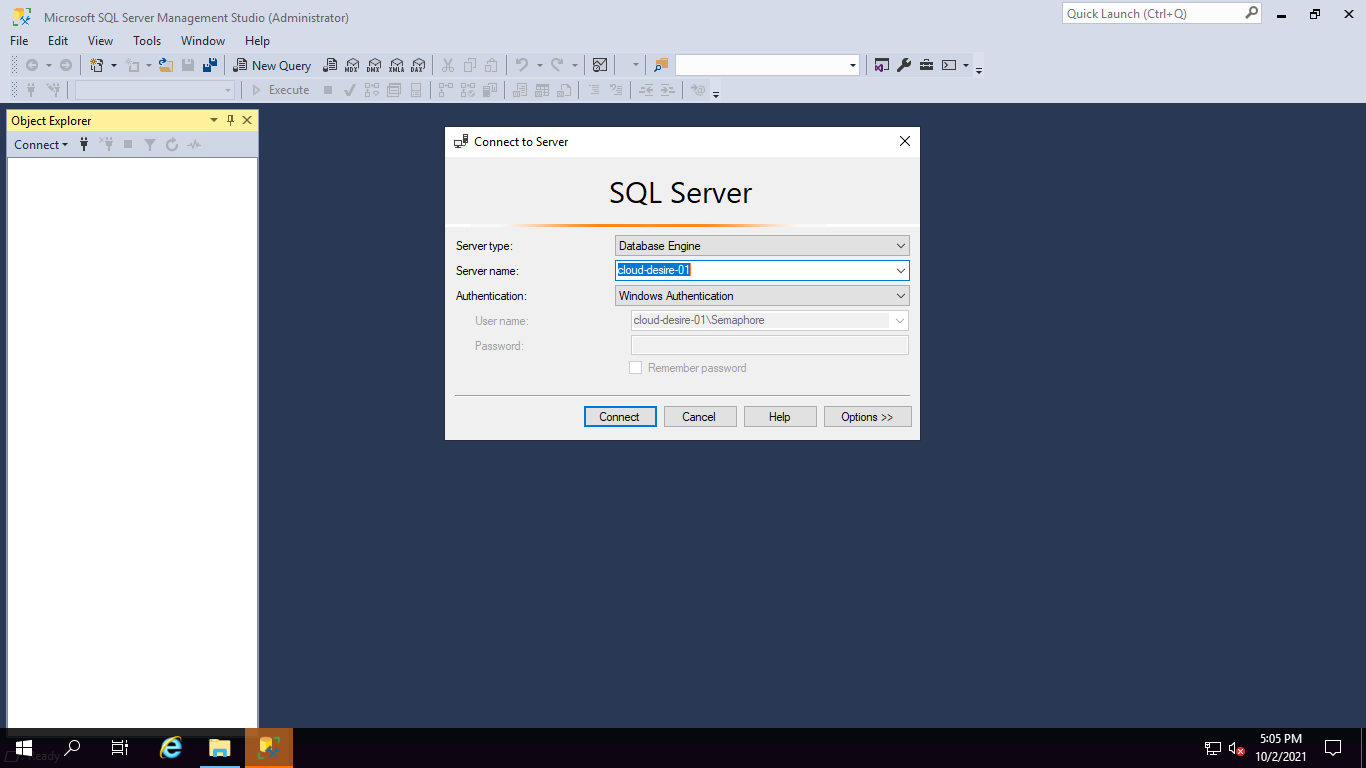
Step 6. Next, you will see below screen. In Connect to Server window, you can see the SQL instance name, which we have just installed. (Ref. Step 9). You can connect an instance with either Windows Authentication or SQL Authentication, which we have created in Step 11.
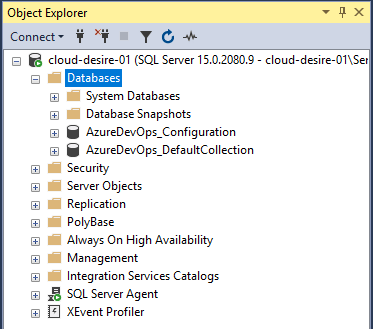
Step 7. Once you successfully authenticated, you can see Object Explorer in which you can find database list and other SQL objects.
So, hope you understand how to install and connect SQL Server using SQL Server Management Studio.
Sometimes you can face some issues/errors at the time of installation of SQL Server. Below are some known errors.
- .NET Framework 3.5 is missing https://www.mssqltips.com/sqlservertip/6615/error-installing-microsoft-net-framework-3-5-sql-server/
- An error occurred for a dependency of the feature https://techcommunity.microsoft.com/t5/sql-server-support/sql-server-2019-installation-error-an-error-occurred-for-a/ba-p/998033
Configure Named Pipe and TCP/IP Settings to access SQL Server Database Instance from outside or from other computers in the local network.
Thank you.
No comments:
Post a Comment
Thanks for your valuable comment...........
Md. Mominul Islam